@ Boulder Digital Arts Oct. 23, 2012
6:30-8:00pm
In conjunction with the Boulder County Open Space Juried Photography Show; Land Through the Lens
~
TIP #1
Shoot more than you do now; if you are interested in landscape photography (or any kind for that matter), you have to get out there.... Shooting different types of pictures can pay dividends across the board.
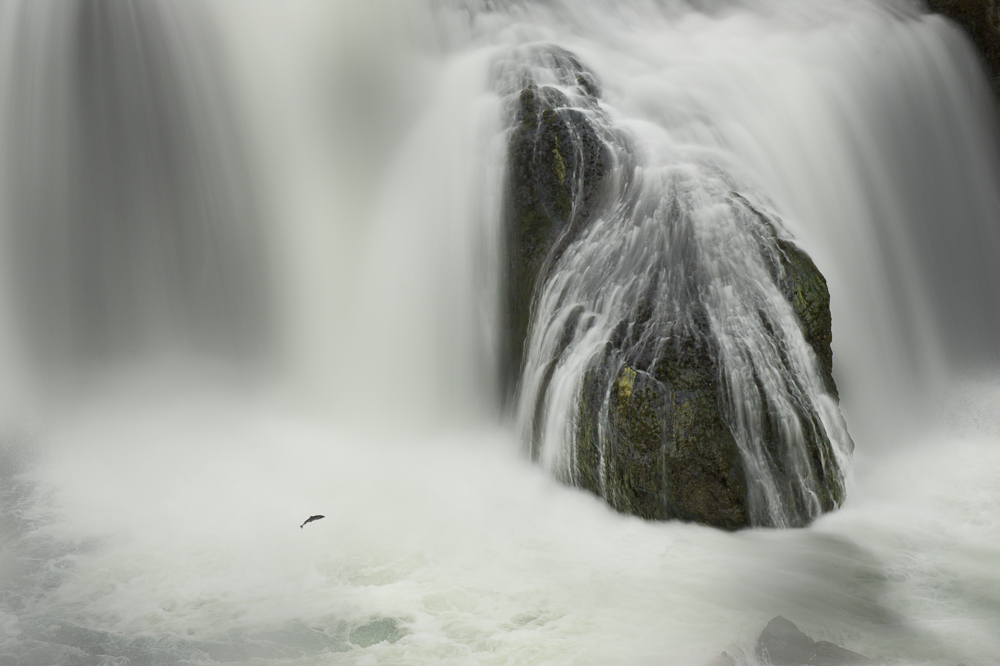
This shoot had over a thousand images to start.

This is one of the 10 or so that are "printable".
TIP #2
Shoot less but notice more before you shoot...Pay Attention (Chris Brown) - Be here now - get in the flow - go with it - be yourself - spend some quiet time at the location before shooting.
Earthbound Light blog post that goes with this tip: http://www.earthboundlight.com/phototips/three-steps-of-good-photography.html

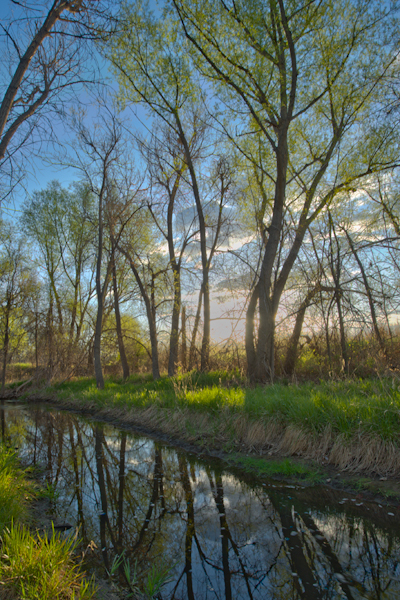
This image was disappointing and I did not have the lens to make it better.

This image was waiting for me just to my right and behind some reeds.
TIP #3
Expose “correctly” for the scene you want to capture.This is not always the same thing as getting picture “realistic”.
This is not always the same thing as what the camera thinks is correct.
Exposure compensation is a technique you need to know! (Google "exposure compensation and camera model")
 |
| This is what the camera thought was "correct". |
 | |
|
TIP #4
Shoot in the best light ….
Sunrise/sunset - The Golden Hours - Sidelight - Backlight - Overcast
Stay for the entire show! Wait for the shot no matter what time of day it is...
How to photograph Sunsets from The Digital Photography School:http://digital-photography-school.com/how-to-photograph-sunrises-and-sunsets
 |
| Golden Hour |
 |
| Soft sunlight - Link to photographer |
 | |
|
 |
| Overcast soft light - Link to Photographer |
|
| Morning Clarity |
 |
| Sunset |
 |
| Side light |
 |
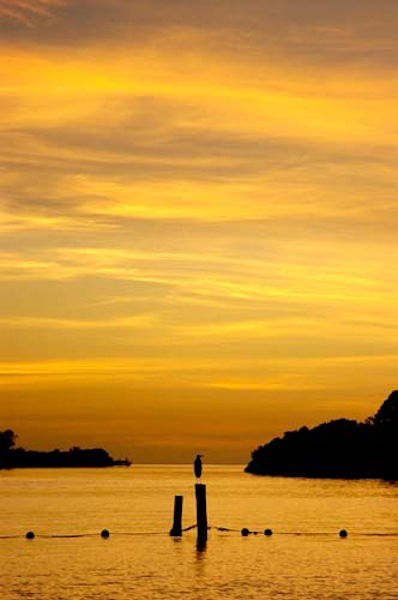
| Color and silhouettes |
 |
| Drama |
TIP #5
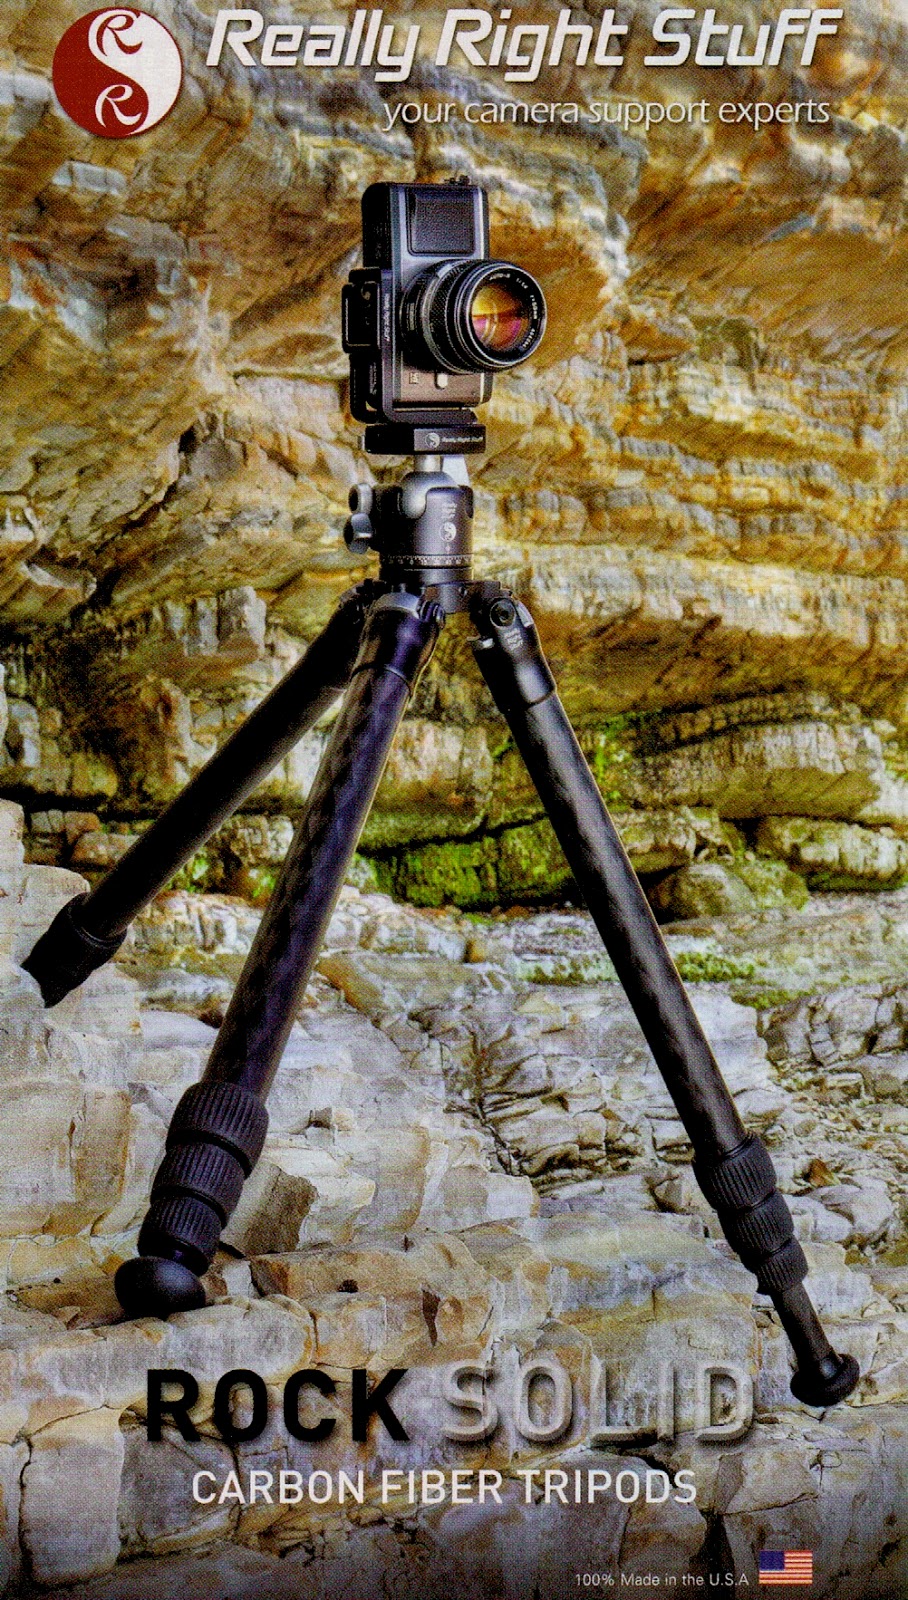
Use a tripod when needed.
Techniques for motionless release: cable, wireless, timer, mirror up, live view)
 |
| Without and with a tripod |
 | |
|
TIP #6
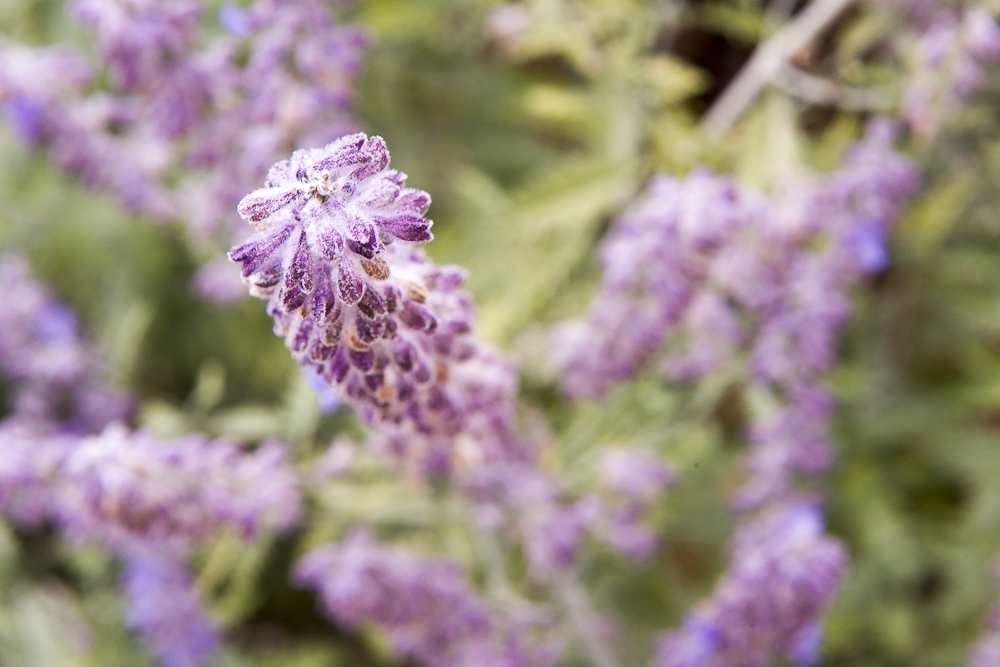
Plan your depth of field and point of absolute focus. There is only one point of focus but a small apertures will create a range of apparent sharpness called "depth of field". Wide apertures create shallow depths of field.
You can optimize this DOF if you can calculate the Hyperfocal distance. That is the distance you should focus on to maximize your depth of field.
Depth of Field Calculator: http://www.dofmaster.com/dofjs.html
There is an App (lots of them) for that, of course.
 |
| f/2.8 |
 |
| f/16 |
This is an extreme example at very close distance but it illustrates the point. For much larger scenes the DOF can be huge. For example my camera with a 50mm lens set to f/22 and focused at 20 feet has a depth of field from 7.5 feet to infinity. With the absolute sharpest point at 20 feet of course.
TIP #7
Include a strong point of interest for the viewer, otherwise the viewer will glance and move on...
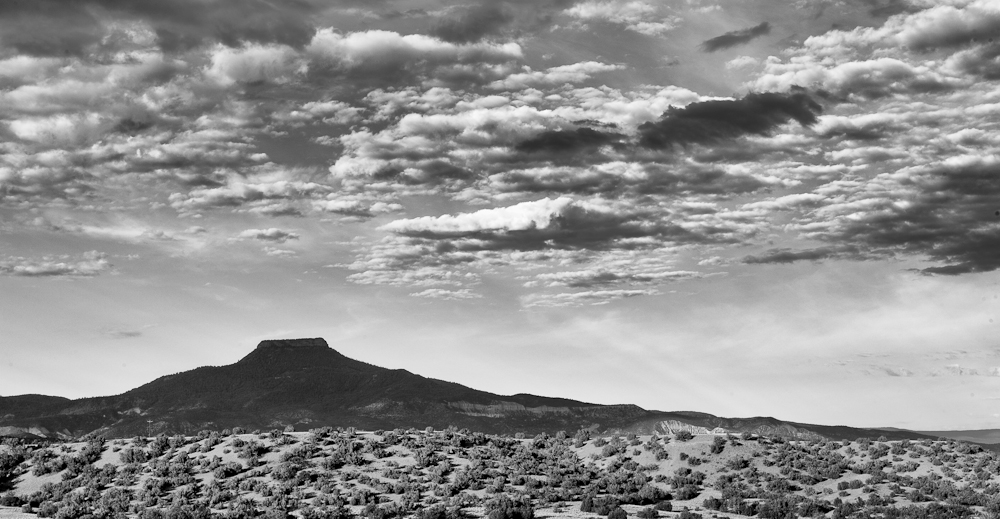 |
| Georgia Okeefe's Padernal against a dramatic sky. |
Negative Example: http://www.flickr.com/photos/alanhopps/7991856291/sizes/l/in/pool-1063369@N24/
Positive Example: http://www.flickr.com/photos/71509307@N02/7899025768/in/pool-landscape-photographs_invite_only/
...can you describe your photo in one short sentence? If not, there isn't a strong point of interest.
TIP #8
Use your wide lens ~ Use your long lens. Both are useful to nature photographers. Take a look at your images and if you find you favor one more than the other try forcing yourself to use the other type of lens.
 |
| Wide |
 |
| Long |
TIP #9
Know your equipment. If you are unfamiliar with your settings and equipment you will miss or ruin shots. RTFM. Practice (see tip #1). Read the manual again.
Learn to Drive Your Camera and equipment - from Earthbound light: http://www.earthboundlight.com/phototips/learning-to-drive-your-camera.html
 | |
|
TIP #10
Horizontal or Vertical, typically landscapes are in a horizontal format but that is just another rule to be broken. Some subjects lend themselves to vertical formats. What are your percentages? You may want to force yourself to try shooting verticals more.
When should you shoot a vertical? Right after you finish the horizontal.


TIP #11
Horizons Keep the horizon level. There is nothing worse that a water that wants to pour out one side of the photo!

 |
Place the horizon high or low but rarely in the middle. This advice goes along with the rule of thirds sometimes.
|
 |
Place the horizon high or low but rarely in the middle. This advice goes along with the rule of thirds sometimes.
|
 |
| Ask yourself a question. Do you actually need the horizon at all? Perhaps not. |
TIP #12
Get feedback from someone other than your spouse or mother ( or Flickr, or smugmug, or …) There truth is that you will nearly always get positive feedback from those that know and love you.
Critiques, clubs, or comparisons with other photographers are much better. Whether you totally agree with the critique or not is immaterial. You will think about your image from another's point of view and that will make you a stronger photographer.
Afraid to criticize? Critiquing is not criticizing. It is helping!
It is not hard to give good critiques: in a nut shell you start with thing(s) you like and only mention one thing that needs improvement.
Here's a few to practice on. There are positives and negatives in all 3.
http://www.flickr.com/photos/evelynnpaula/7999513555/in/pool-364847@N20/
http://www.flickr.com/photos/fronaphoto/7900983460/in/pool-364847@N20/
http://www.flickr.com/photos/spreephoto/8000343061/in/pool-364847@N20/
TIP #13
Get an interesting sky or don’t include it. Or reduce its significance.


TIP #14
Use a polarizing filter. The number one image improving tool for nature photographers.
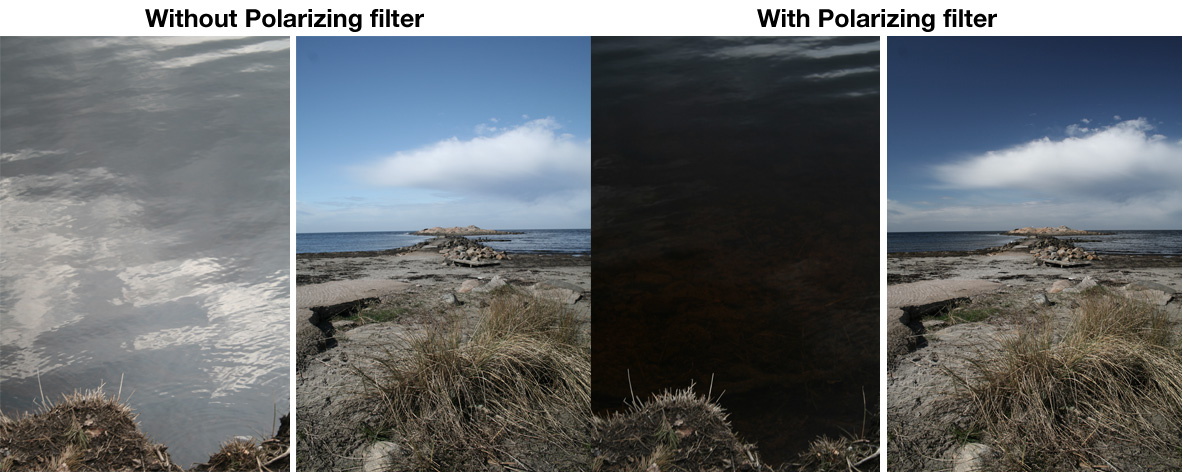
The water is over done...watch for that in high altitude skies. They can turn too dark.
They work best when the light source is from a 90 degree angle. And very poorly when the light source is in line with the camera lens.
TIP #15
Shoot in raw, use the highest possible quality settings. And the highest possible size settings.
If you are capturing the natural beauty of the natural world you need every pixel and every bit of info about each pixel that is possible.
JPGs are algorithms that throw away valuable information. RAW files keep every little bit. Think of a JPG as all the info that could be written onto in a ream of paper but a RAW file has all the info that could be written onto a stack of reams of paper.
 |
| How much data do you need for post processing the image? |
TIP #16
Add a person to the composition. This is sometimes to needed just to show the scale of your subject. Other times it helps place the viewer "in the scene".


TIP #17
Composition, okay this is not really a tip it is a course of study for the rest of your photographic life!
Good compositions should lead the eye, have a focal point, perhaps use the rule of thirds, balance the graphic areas in the frame, fill the frame... there are more.
Can you describe the photo's subject in one short sentence?
10 Landscape Composition Tips from Digital Photography School
Landscape Photography Composition Checklist from Jason Odell
TIP #18
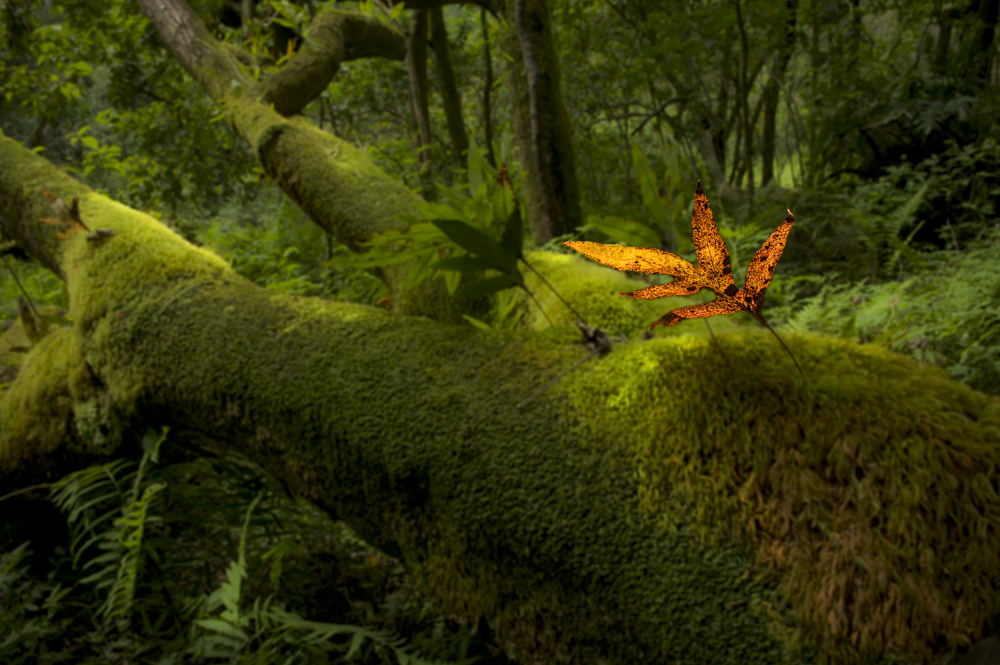
Look for contrast (tone or color).
 | |
|

 |
| Tonal contrast. Sometime pumping it up a bit makes an image that is otherwise flat and uninteresting. |

TIP #19
Learn to see the world the way your camera does, not the way your eyes do. - Galen Rowell
Stops of light that your eye can see are shown below. You might be able to see more. Pick a range of 5 or 6 to understand what the camera can capture.

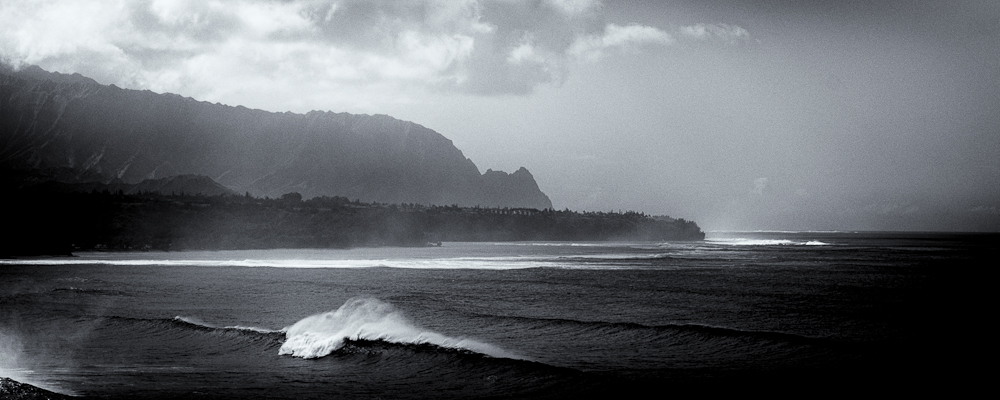
Slow exposures can capture images that the camera can see but you cannot. Polarizing filters can help with lowering the light to the point that you can keep the shutter open longer. Neutral Density filters do an even better job at this.
 |
| 3 second exposure blended with a 1/500 second. |
Is that really how it looked? Article from OP mag. : http://www.outdoorphotographer.com/how-to/shooting/is-that-really-how-it-looked.html
Explore other photographers’ work. Magazine, galleries, the web...anywhere you find images that you like.
Chris Brown's Path of Beauty examples on the web. http://www.chrisbrownphotography.com/MM20images/index.html
TIP #21
Take a class...maybe at BDA ;-) http://boulderdigitalarts.com/training/bycat.php?cat=6
Search for tripods, filters etc. at Adorama. One of the honest Internet camera stores.

Extra tips:
*Pay attention to the whole frame/composition, watch out for "target vision":
Quote from Bob Johnson at Earthbound Light Blog: The more compelling a photographic subject is, the eye tends to zero in on it, glossing over everything else. People are naturally drawn to what is interesting. If you happen upon a beautiful vista, what you see is the beautiful vista. If there's a trailside marker or dead tree right next to it it's easy to look past it and focus solely on that vista. The distracting bits get mentally painted out of the idealized version of the scene you think you're seeing. But the camera's vision unforgiving and not susceptible to the same romanticized vision we are. It's when you look at the images that come out of your camera that you see everything you missed when shooting those images. "How did I miss that?" you ask yourself.
*Make a print
Print some of your best photos. Even if you don't have the money or places to hang them it is instructive to see them in print. It can also be humbling and/or encouraging. Some that look really good on screen do not look that good on paper.
No comments:
Post a Comment